|
Blockly |
Getting Started
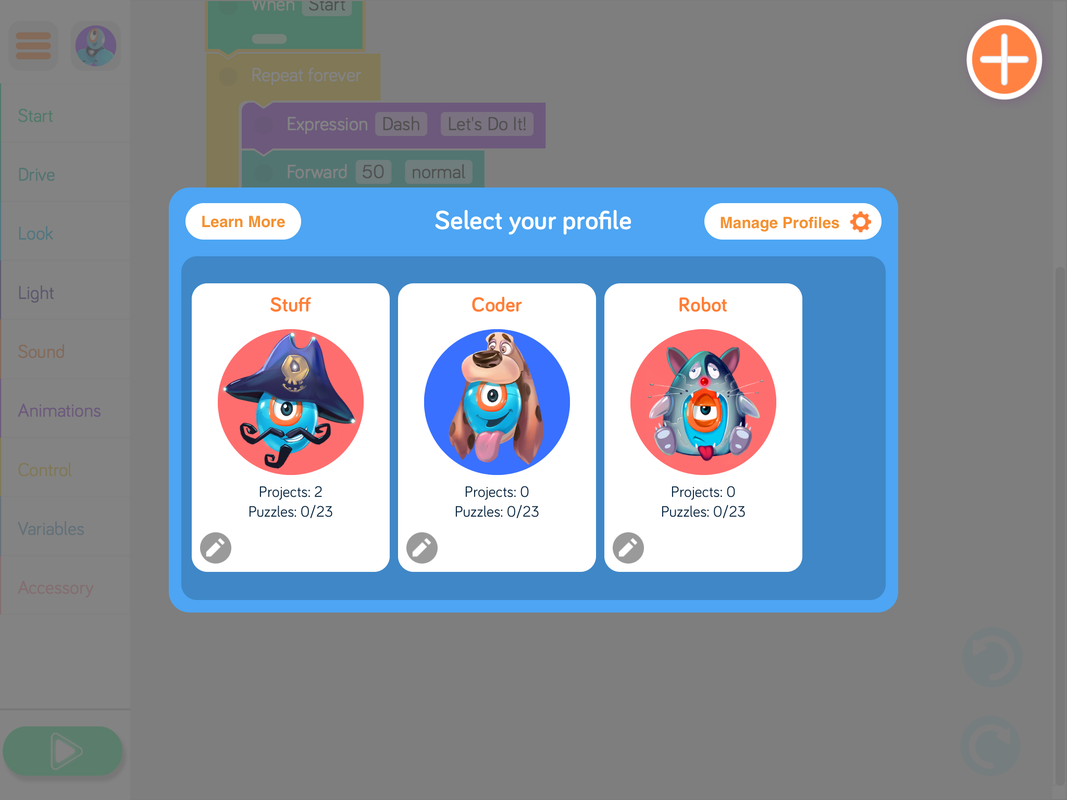
The first thing you'll see is the opportunity to choose a "profile'. This option allows users to save their progress. So you need to either choose an exisiting profile or create a new one by clicking on "Manage Profiles".
|
It's easy for students to change the name, colour and avatar for their profile.
Students will have to remember which tablet they have saved their profile on, though! Depending on how many tablets you have, I suggest you give each tablet a number, and assign an equal amount of students to each tablet; so each tablet does not have too many profiles, and students can easily remember how to find their profile. If students need to edit profile info, they can always click on the avatar up the top right of screen. |
|
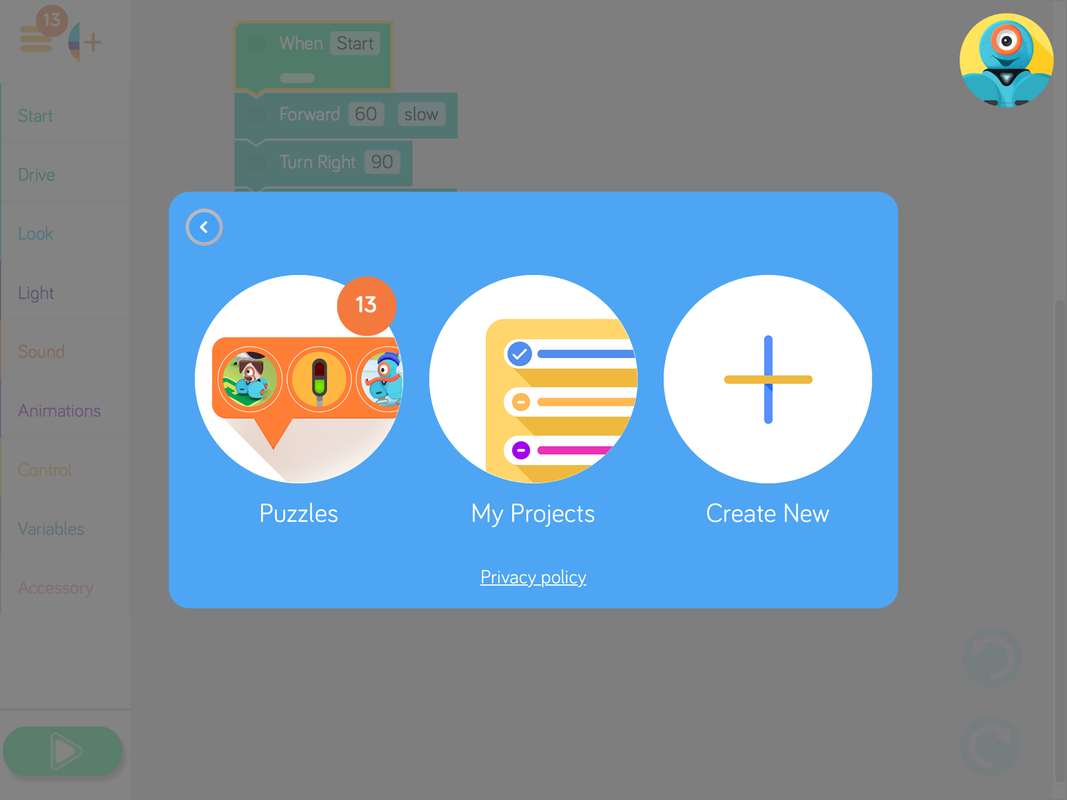
Once you have chosen a profile,
then you have to choose between: Puzzles, My Projects and Create New. |
Puzzles
Puzzles are a great way to introduce coding for beginners. They allow the user to work through challenges which start simple, and become more complex. Choose Dash or Dot. Then proceed through tutorial.
|
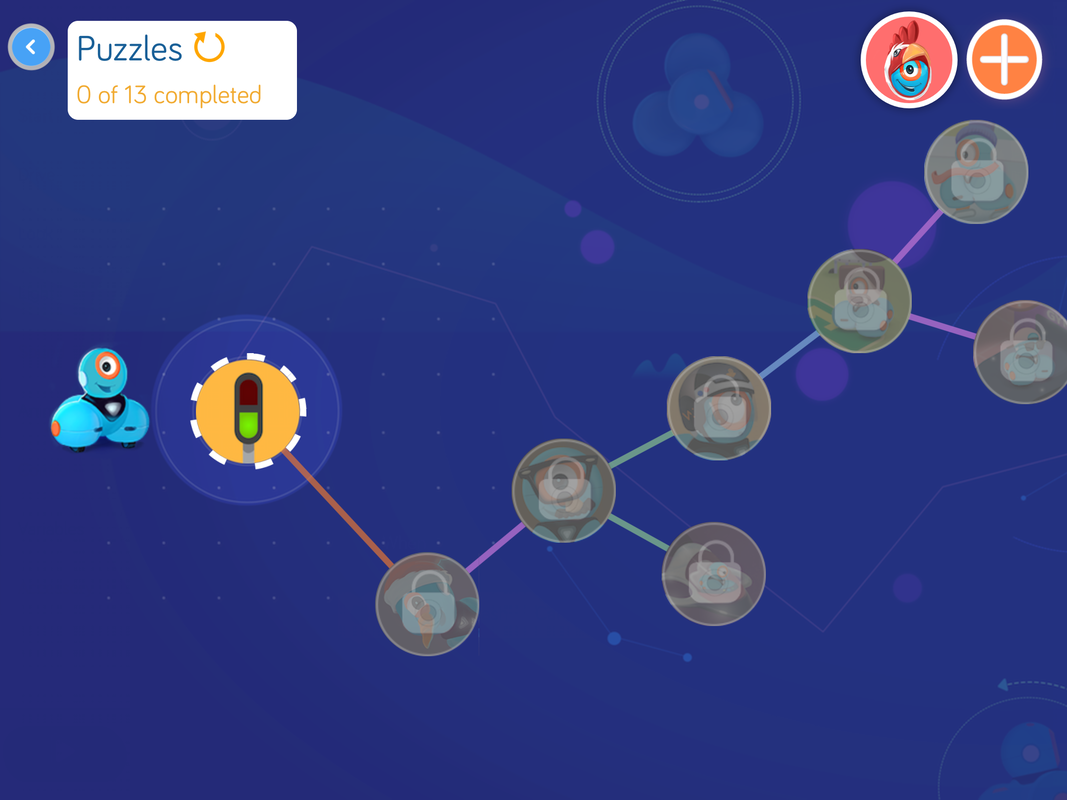
They're great because students can work through at their own pace and it will save their progress for next time. An excellent intro to block coding!
|
My Projects
As the name suggests, My Projects allows you to access any of your previous creations. Whether that be projects you started yourself, or others you have looked at via "Create New".
|
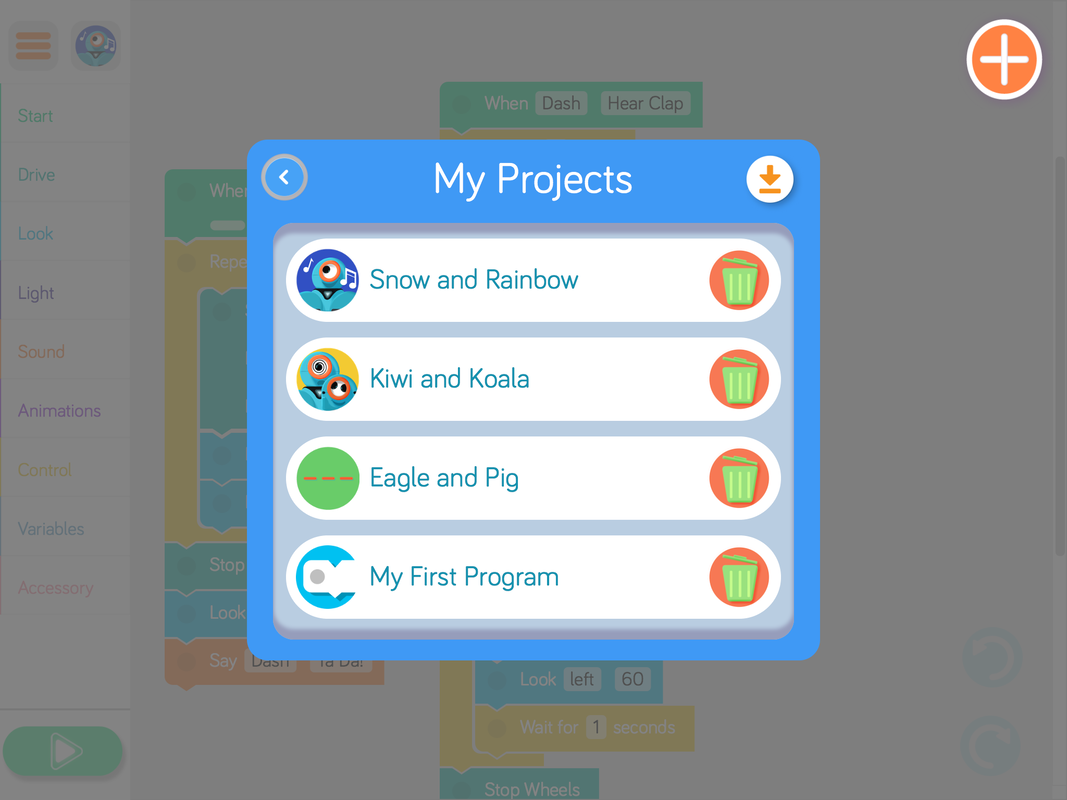
If you want to "tidy up" you can always bin some!
|
Create New
You can choose from a large number of pre-made code examples, or start your own from a blank page. Choose the one you want then press "Create".
The examples are a great way to show how to use all the different types of blocks, especially if you want to demonstrate a particular block to the whole class. |
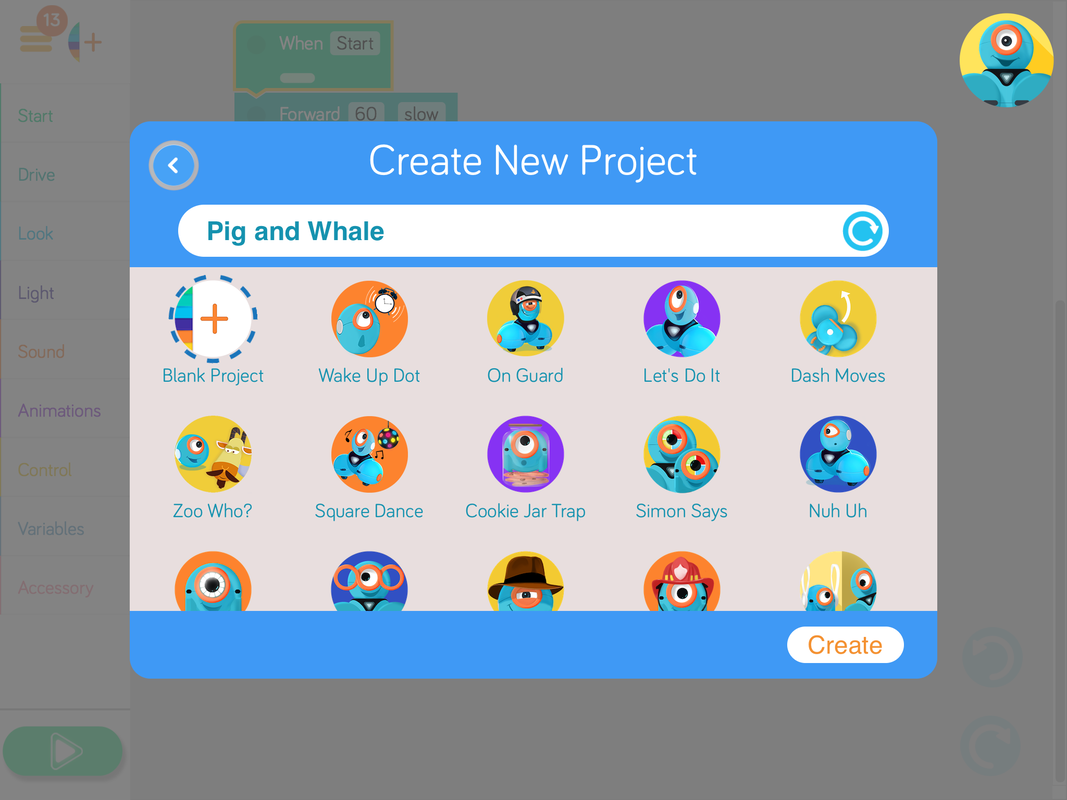
Some of the premade codes are for Dash and/or Dot (You can tell by the icon) And some require accessories such as attaching the marker.
|
Suggested actiVIties
1. Estimate distance.
Stick a straight line of masking tape, between 2 and 4 meters long onto the floor. Then measure another piece that is exactly the same length, by putting another piece down parallel to the first. (Figure 1)
Then pick up the second piece and break it into three, differently-sized pieces. (Figure 2)
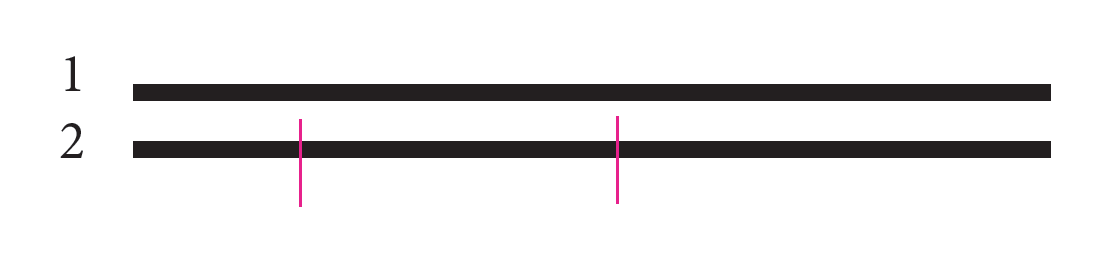
figure 1
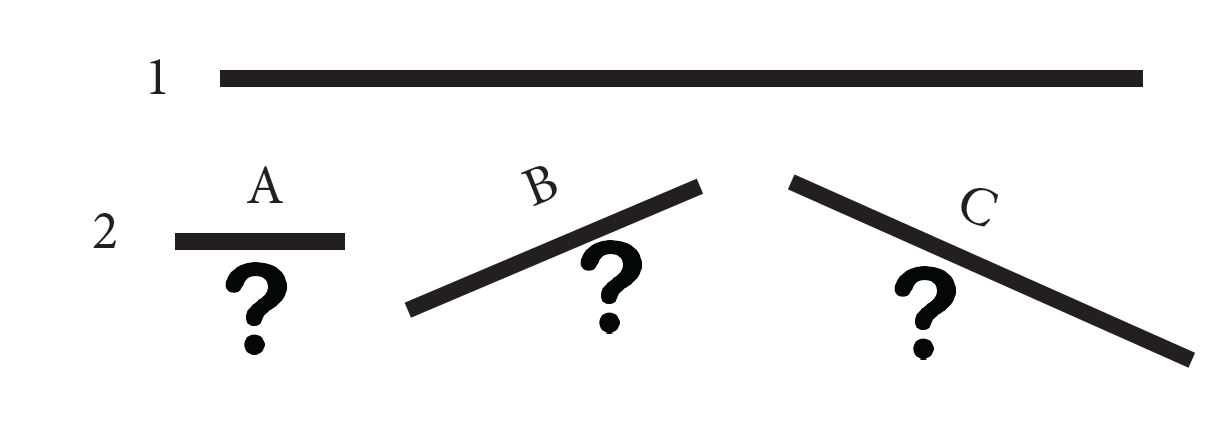
figure 2
Using the Blockly app, ask students to estimate line A, by putting dash at the start and guessing how far forward he will need to go to reach the exact end.
They will need to use the DRIVE FORWARD block. Change the value to suit your guess (only can select values to the nearest 10cm) Follow the steps, in the images below, to estimate all three lines.
They will need to use the DRIVE FORWARD block. Change the value to suit your guess (only can select values to the nearest 10cm) Follow the steps, in the images below, to estimate all three lines.
So... once you have estimated all three lines, add all code together and see if Dash travels the entire distance of LINE 1
2. Follow a path
|
Follow a path. Create a shape on the floor using long strips of masking tape. It's good if the shapes are not too complicated. You could create a few that progressively harder. Students need to code their dash to travel the perimeter of each shape, estimating the length and angles for the whole shape. They could estimate each side then angle as a seperate piece of code, then at the end, drag and drop them all into the right order to see if they can travel around the entire shape.
For larger shapes, you could mark 3 or 4 'checkpoints' that the students need to pass. If lots of students are using the same shape, they could all start (and finish) on different checkpoints. |
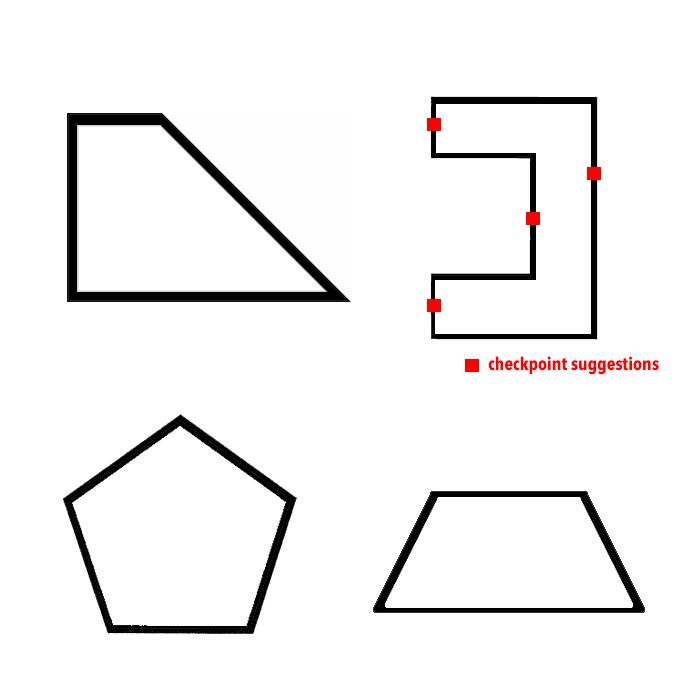
Tip: It is good to have a lot of your angles to be simple like 45 or 90 degrees. Beware... some angles that look like 45 degrees may need a 135 degree turn!
|
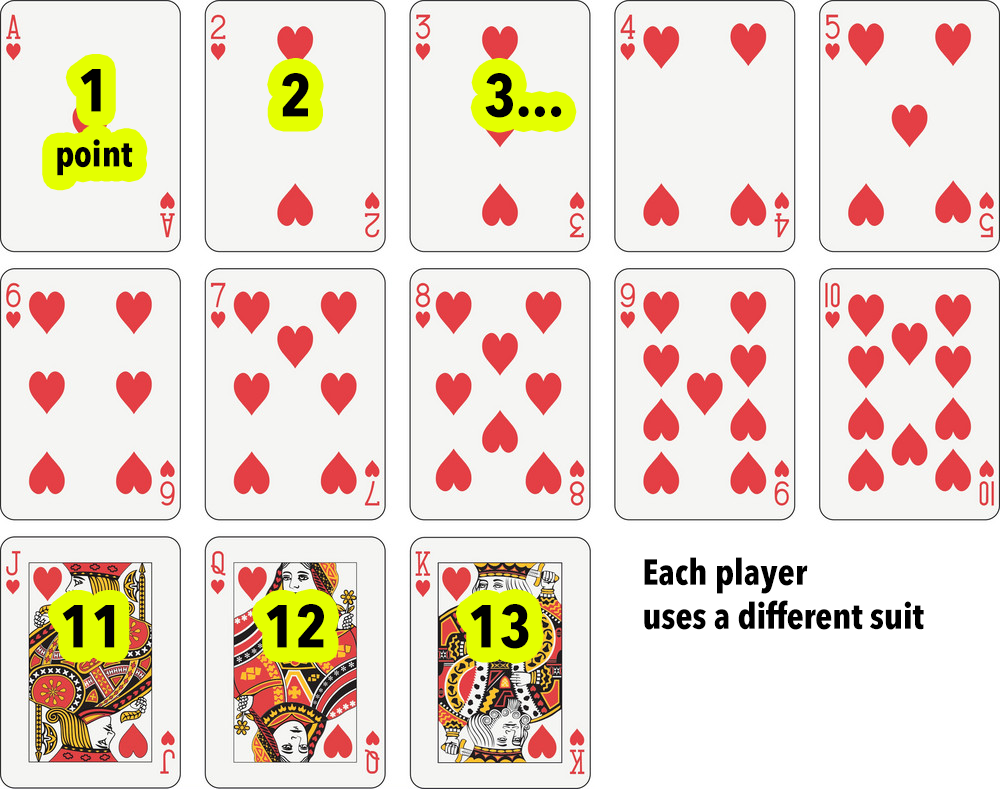
3. Board Puzzle
|
On a large piece of board draw a grid using 20cm x 20cm squares. I used "corflute' from Bunnings Warehouse but any material will work so long as you can draw a grid on it. 1200 x 1000mm is a good size because you can get exactly 5 x 6, 20cm squares. 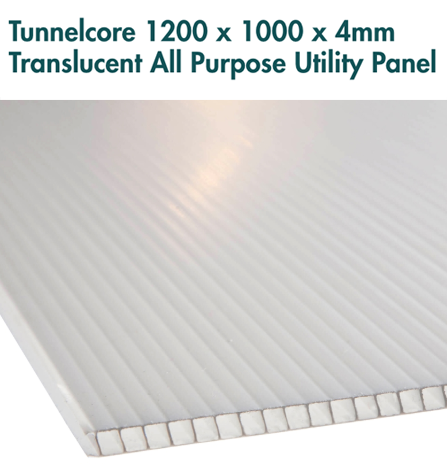
Corflute
In each square I placed a template for Dash with a number on it. I also included Pokemon characters. (the Pokemon Ball icon were my START/FINISH squares). You can add whatever you like to inspire your students!
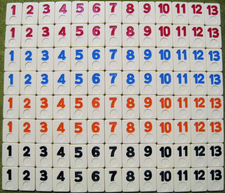
Each square needs a matching card. Laminating cards is recommended. Alternatively, you could also use Playing Cards or Rummiking/Rummikub tiles. You will need 26 squares that have the numbers 1-13 twice, and 4 squares you can use for start/finish squares. Which means, you need 30 squares. Free ResourcesIf you want to save resources, you could try printing this BLANK version and get your students to illustrate.
OR
To save printing costs and cutting-out time, you could trace the template, straight on the board, then draw your own numbers straight on the board. You could still make your own cards or use the Playing Cards or Rummiking/Rummikub alternatives as suggested above. 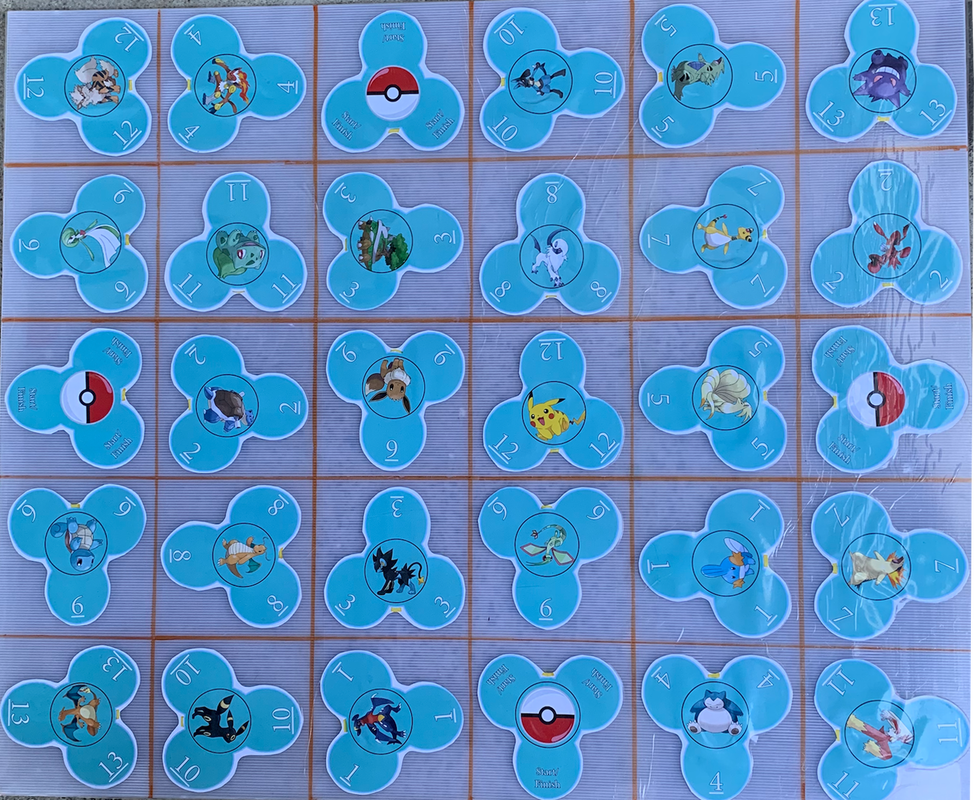
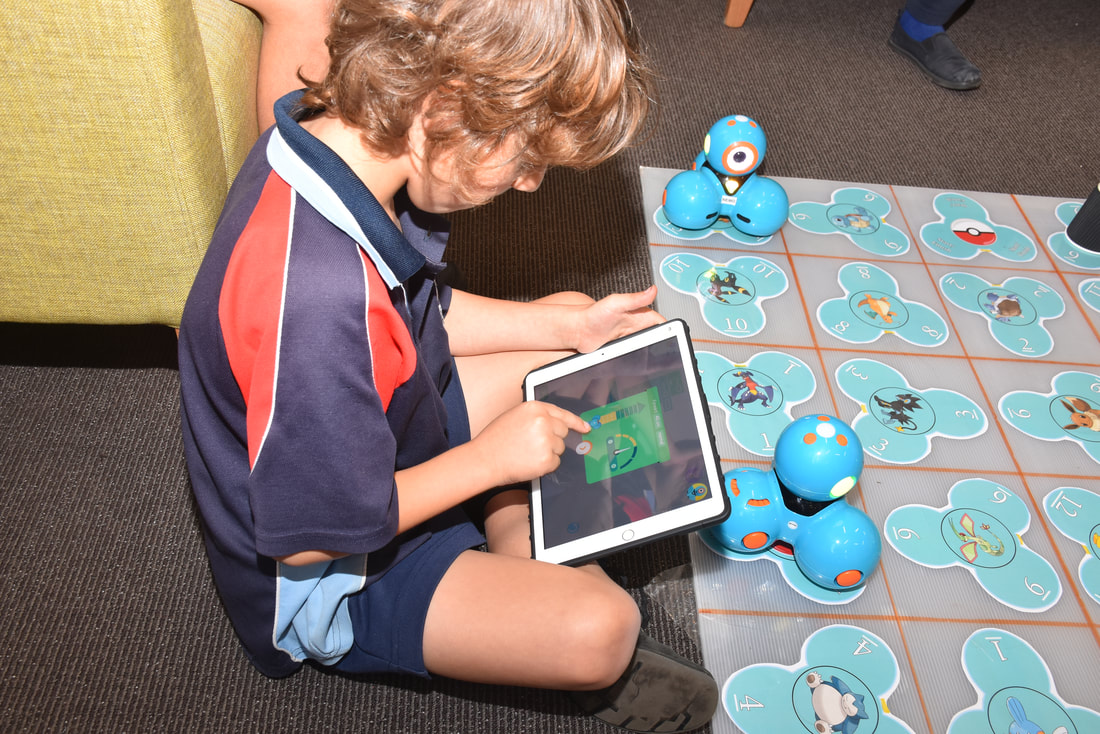
This is how I set up my first board. But you could get your students to come up with a good design. I covered this board in clear contact.
|
How to PlaySet up. Each student (or team of two students) has a dash robot and places them on one of the designated START/FINISH squares. Their robot needs to face the same direction as the dash template on that square. The play. Students take turns to code their robot, using Blockly to move from one square to another AND to get their Dash to face the same way as the template on the square. They collect a card for what ever square they land on (as long as their robot is facing the same way as picture). The exact direction of the robot is determined by the position of the chest light. Often movements will involve moving forward or backward in multiples of 20cm and make 90, 180, 270 degree turns. As soon as one student returns to a START/FINISH (facing the same way as template square), the game is over and all the cards collected are added up. Players can not do this until they have at least three cards. The Goal To collect cards of the highest value. 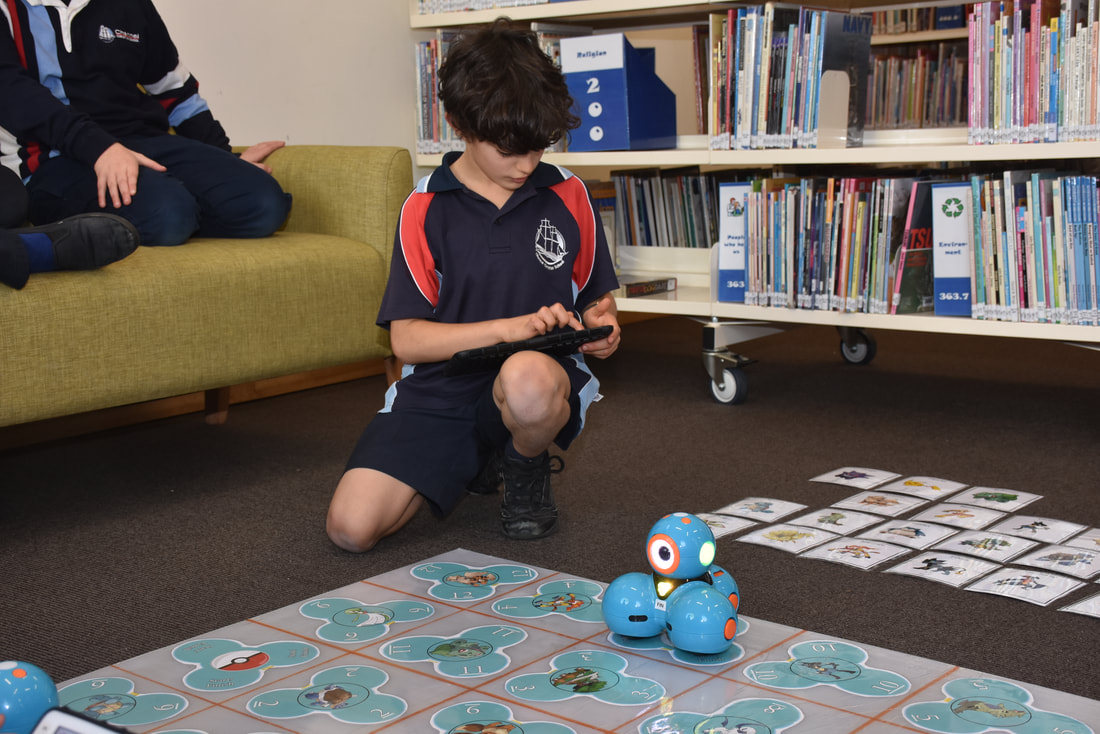
Rules:
After each turn which ever square your Dash is MAINLY ON is the square that counts. You may pick up and adjust your robot after each turn so it sits neatly in the square it lands on. But you cannot manually change its direction. You cannot physically touch your Dash while it is moving. If your dash goes off the board then the last square it touches is its finishing point (And keep the same direction it is facing) If you are facing a different way that in is the picture, you will have to use your next turn to rotate your robot and collect your card. If your robots touch another robot during your turn you miss out on getting a card. 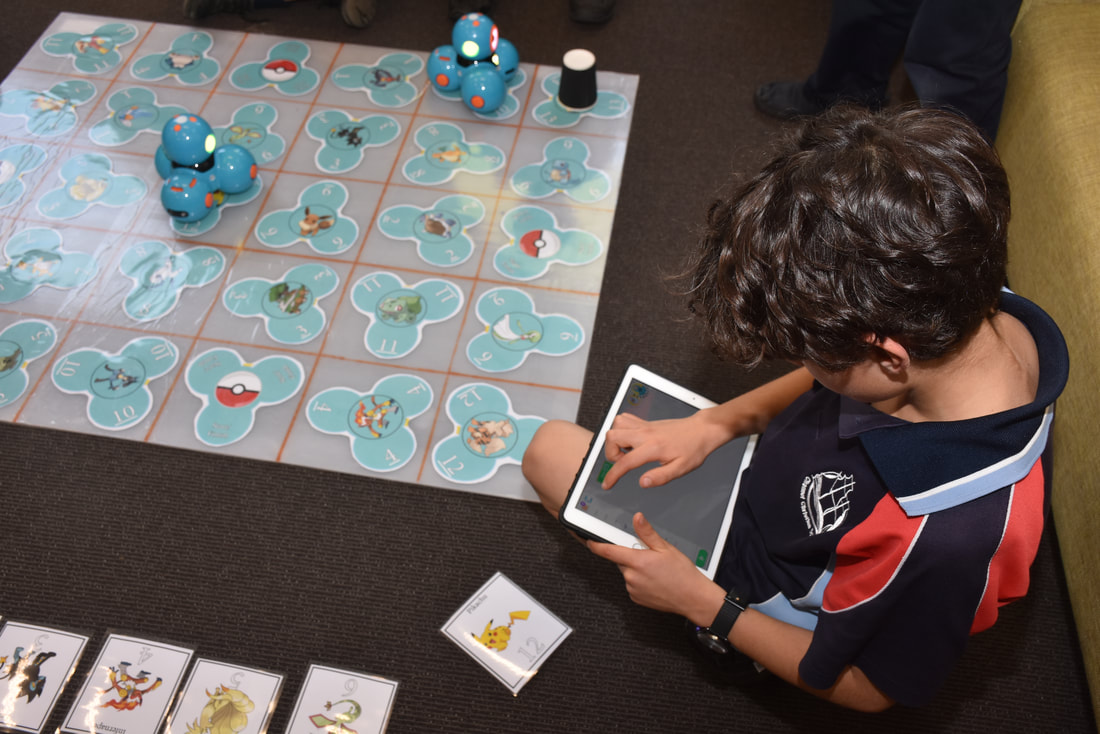
As an extra challenge, add a cup to each square where a card has been collected (after the robot has moved) If you touch a cup with your robot, you can't collect a card for that turn.
| ||||||||